I created my first Facebook Page several years ago when I didn’t really know what the heck I was suppose to do with it. Back then my brand was a bit narrower (article marketing), so like the SEO keyword freak I am, I gave my page the url address of www.Facebook.com/Article.Marketing.Income. This url served me well because my page came up pretty high in search engine rankings when someone searched for “article marketing income”. But that was then, and this is now. My brand has evolved and grown and article marketing is only part of what I know and teach. So I was ready to change it and if you are too, here’s what you need to know…
Your Facebook Name & Username (URL Address) Are Two Separate Things
I named my Facebook page with my first and last name because that is what I use to brand my business, but I wanted to use keywords in my url for search engine purposes. There was no need to use the same words in the title of my name and in the url. So in order to bring my Facebook page up to date, the only thing I needed to change was my url–but I’m going to show you how to change both.
Your Facebook Page Username
Your Facebook username is the url address that people will use to visit your page. It’s important because it contains some SEO benefits but more importantly you will use it everywhere. Business cards, website, other social media sites, newsletter integration, your books, etc. It really is a part of your brand. That’s why I thought it was important that I change mine to reflect that. I’ve since changed my FB page url to: http://Facebook.com/Lisa.Angelettie.Biz (Make sure to LIKE my page if you haven’t already.) *Note that you can only change your username once.
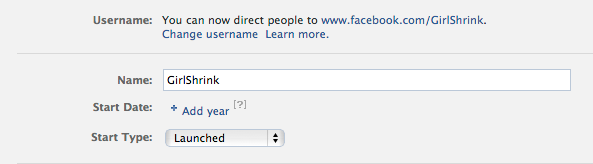
Your Facebook Page Name
When you create a Facebook page, you can name it right away, BUT if you are changing your current Facebook Page’s name then you must have UNDER 200 likes to do so. Take note that you can only CHANGE your Facebook page’s name only once just like the username. So make it count.
Directions For Changing Your Username
To add a username to your Page:
- From the top of your Page, click Edit Page

- Select Update Info
- Click Create a username for this page? in the Username section
- Enter a new username and click Check Availability
- If the username you want is available, click Confirm to save it
(Change your name for the page in same area, right under the username section.)